

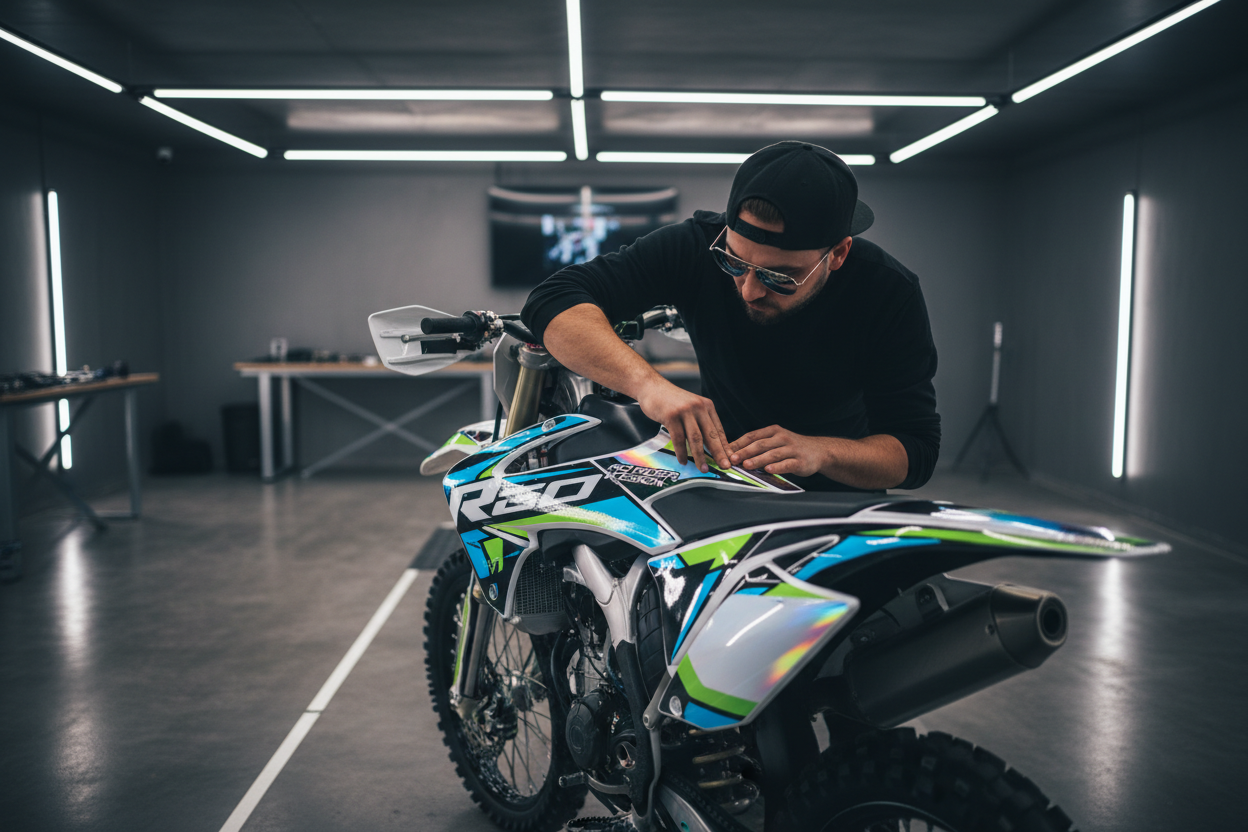
Why a Perfect Install Makes All the Difference
A premium motocross graphics kit is only as good as its installation. Whether you're refreshing your Kawasaki, Yamaha, or Suzuki with a brand-new Pro Rider Design kit, a clean and careful application ensures your decals look sharp, stay put, and last through the toughest rides.
Follow this step-by-step guide to get a flawless result every time.
What You'll Need
- Your Pro Rider Design graphics kit
- Isopropyl alcohol (90%+) and a clean microfiber cloth
- A heat gun or hair dryer
- A plastic squeegee or credit card
- A soft cloth or paper towels
- Patience — and a clean workspace
Step 1 – Prepare Your Plastics
Start with a thorough clean. Remove all dirt, grease, and old adhesive residue from your plastics using isopropyl alcohol. Any contamination under the decal will cause lifting and bubbling over time. Let the surface dry completely before moving on.
Pro tip: Work in a warm environment (18–25°C / 65–77°F). Cold plastics make adhesion harder; heat makes the vinyl more pliable and easier to work with.
Step 2 – Dry Fit Before You Commit
Before peeling anything, lay each graphic on its corresponding panel to check alignment. Our 534-micron premium vinyl is pre-cut to fit your specific model, but a quick dry fit helps you spot the correct orientation and avoid mistakes.
Step 3 – Peel and Position
Peel back a small corner of the backing paper — don't remove it entirely. Align the graphic carefully with the panel edges, then slowly peel the backing away while pressing the decal down with your squeegee. Work from the center outward to push air bubbles toward the edges.
Step 4 – Apply Heat for Curves and Edges
Motocross plastics have complex curves. Use your heat gun on a low setting to gently warm the vinyl as you stretch it around edges and contours. The heat activates the adhesive and makes the 534-micron vinyl conform perfectly to the shape without creasing.
Caution: Keep the heat gun moving — don't hold it in one spot for more than 2–3 seconds to avoid damaging the graphic.
Step 5 – Eliminate Air Bubbles
Small bubbles can be pushed out with the squeegee. For stubborn bubbles, use a fine pin to make a tiny hole, then press the air out and smooth the surface. Finish with a firm pass of the squeegee across the entire panel.
Step 6 – Final Heat Seal
Once the graphic is fully applied, do a final pass with the heat gun over the entire panel. This activates the adhesive fully and bonds the vinyl to the plastic for maximum durability — essential for riders who push hard in all conditions.
How Long Will My Graphics Last?
With proper installation and care, Pro Rider Design graphics kits are built to withstand the demands of motocross racing. Our 534-micron premium vinyl resists UV fading, mud, and abrasion. Avoid pressure washing directly on the edges of decals to maximize lifespan.
Need Help Choosing Your Kit?
Browse our full range of motocross graphics kits for Kawasaki, Yamaha, Suzuki, and more. Each kit is precision-cut for your exact model and available with full personalization options — your name, number, and colorway, exactly how you want it.
Share: